 EN
EN
You can make your home or workspace neat and tidy with storage box dividers. These dividers are simple pieces that help keep everything in its place. This article will show you how to create your own dividers and suggest the best types for your projects. At All Star, we believe that with a little creativity and some basic supplies, you can organize your space better than ever.
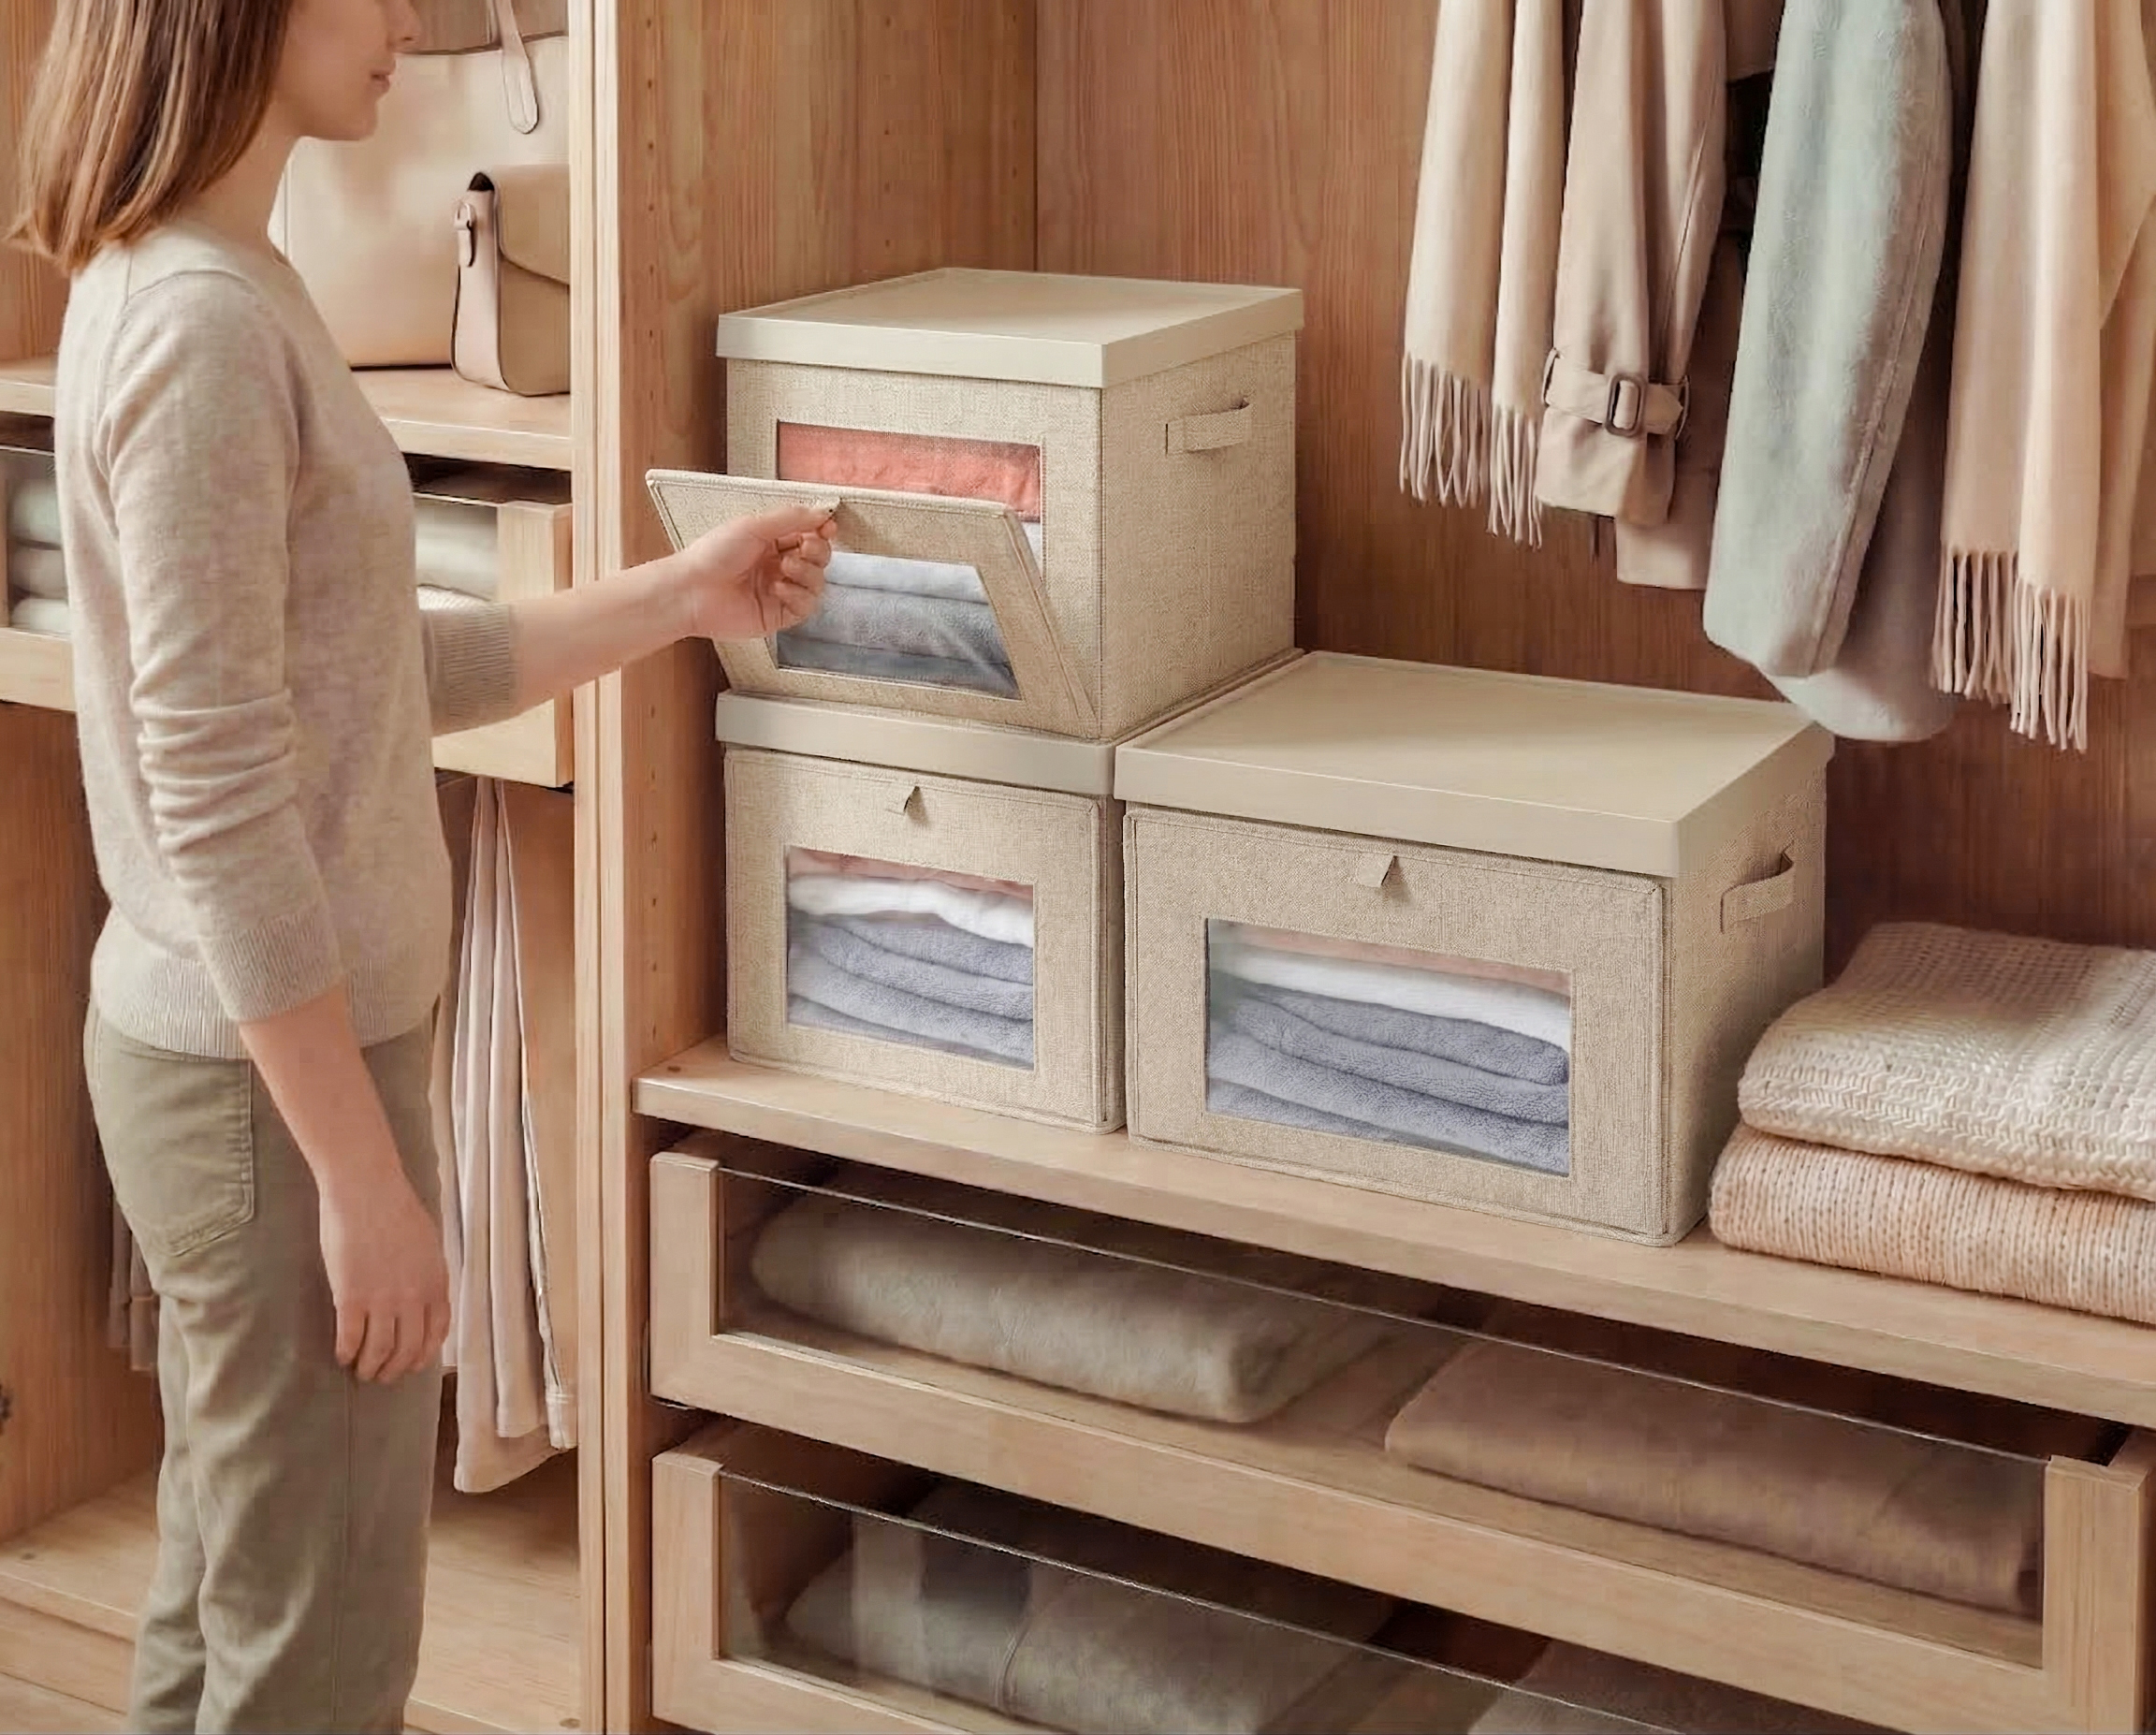
How to Create Custom Storage Box Dividers for Maximum Organization
Making your own storage box dividers is a fun and easy project. First, gather your materials. You will need cardboard or thin wood, a ruler, a pencil, and scissors. If you want to decorate your dividers, you can also grab some paint or markers. Start by measuring the inside of your storage box. Use the ruler to mark where you will cut your dividers. Make sure each section is the right size for the items you will store. For example, if you are making a divider for pens and pencils, make the sections long and narrow. Once you have your measurements, cut the cardboard or wood carefully. If you have chosen cardboard, it’s easy to cut with scissors. For wood, you might need a saw, so ask an adult for help. After cutting, you can paint or decorate your dividers if you like. Let them dry completely. Next, place the dividers inside your storage box. Make sure everything fits snugly. You can adjust the dividers until you are happy with the layout. Now you have a custom storage solution! You can use this method for different boxes around your home. It’s a great way to keep your toys, art supplies, or office materials organized. Remember, an organized space can help you find what you need quickly and keep your mind clear and focused. At All Star, we believe that everyone deserves a tidy environment, and making your own dividers is a step in that direction.